Showing posts with label Ari. Show all posts

Tuesday, October 4, 2016

DIY HALLOWEEN COSTUME FOR LITTLES - BEANIE BOO

My kid has a ::small:: obsession with Beanie Boos. Anyone else get asked EVERYWHERE they go to buy one? Because they're literally everywhere. At Walgreens, at the craft store, at book stores, gah! Those glittery gigantic eyes follow me everywhere! No really, they're pretty freaking cute, and I must admit I get into when their birthdays are etc. Okay! Okay! He sold me on them!

Naturally his Halloween costume would have to be a Beanie Boo. There are very few animal onesie costumes that don't already have a face or eyes on them. This lion costume is from Party City- it's actually the Cowardly Lion from Wizard of Oz with the badge snipped off. So that part was easy. 

Scroll down for the tutorial, free printable, and links to purchase supplies! 

What you need (click each item for links)
Hole Punch
TAG
Download the Beanie Boo tag HERE and just print one sheet.
Trace and cut around each shape- outer heart, inner heart, t, y. 
Cut carefully around "Beanie boos".
Using your foam glue, attach the foam pieces: larger heart in gold on the bottom, then red, then letters.
Punch a hole in the corner (you may have to lift up the red part while it's not totally dry and do separately since it'll be pretty thick.
String a red ribbon through the hole and make a necklace.
 

GLASSES
I made him regular glasses for night time since it would be too dark to trick or treat with sunglasses on!!
Paint the outer rim carefully with glitter glue. 
Glitter over a piece of paper so that you can funnel it back into your glitter tube when you're done. Let dry completely. 
Paint over one more glue coat and let dry.

FACE PAINT
Add as much or as little (maybe just the nose!) as you want.

 "Mommy, I bet people can't tell which one I am".
xo
-L

Wednesday, May 18, 2016

ROOM TOUR: ARI'S MODERN BIG BOY ROOM

You know when your kid gets to an age where all of a sudden they have super strong opinions on what their room should look like? Ari is 5 now and wanted rainbows and gold painted all over the walls with Harry Potter posters. This was not going to fly. BUT I think I pulled off a combination of rainbows, Harry Potter, and my love of black and white modern style. Now we're both happy!! Scroll down for all sources and a free printable of the modern rainbow poster. 

Besides decoration ideas, the BIG problem to tackle was organization and storage. This is where Land of Nod came in big time! Jenni and I both fell in love with the acrylic bookcase! It's just so clean and pretty and perfect for treasures. The Home Edit came over and styled with special books and toys to look like... you guessed it... a rainbow!

Land of Nod also came in clutch with these soft bins perfect for the abnormal amount of stuffed animals my son collects. I absolutely LOVE that they are soft. One or two actually live on my son's bed so that he can sleep with all of his stuffed buddies without them constantly falling off the bed. 

I designed this abstract rainbow poster and have it for you as a FREE download! Yippee! I sent the file into Kinkos/FedEx and had them print it in an 18x24" frame ready size. Scroll down for the link to download.

This might seem crazy, but I really wanted to make an art installation out of books. Ari loves books (and so do I!) but his old book shelf cubbies were getting a little crazy looking. I saw blogger, Freckles Chick's book shelves she used for her daughter's room and knew that was the solution. I bought the 3.5" deep shelves and installed them in rows. 6 of the 36" and 3 of the 24" shelves. Each row had one long, one short, one long to make three 96" shelves. Then of course The Home Edit styled it for Ari so it looked like yet another rainbow!!

Our family is a BIT Harry Potter obsessed. Okay a lot obsessed. Luckily, we've passed our obsession to Ari. We came up with a "magic spell" to put him to sleep... and it really works! Dixie & Twine graciously made this "FALLIO ASLEEPO" sparkly banner for above his bed!  

SOURCES:

"A" wall letter - Ebay
"a" red letter - vintage
Gumball machine - vintage (my husband's!)
Matchbox car holder - vintage printers box
Black paint - Behr Broadway
White paint - Behr pure white

FALLIO ASLEEPO!
-L

Monday, December 15, 2014

THE BEST CHOCOLATE CAKE!

It was my husband's birthday yesterday, and every year his two requests for gifts from me are: 
1. "Don't spend money"
2. "Bake my favorite chocolate cake"
I'd say I get off pretty easy!
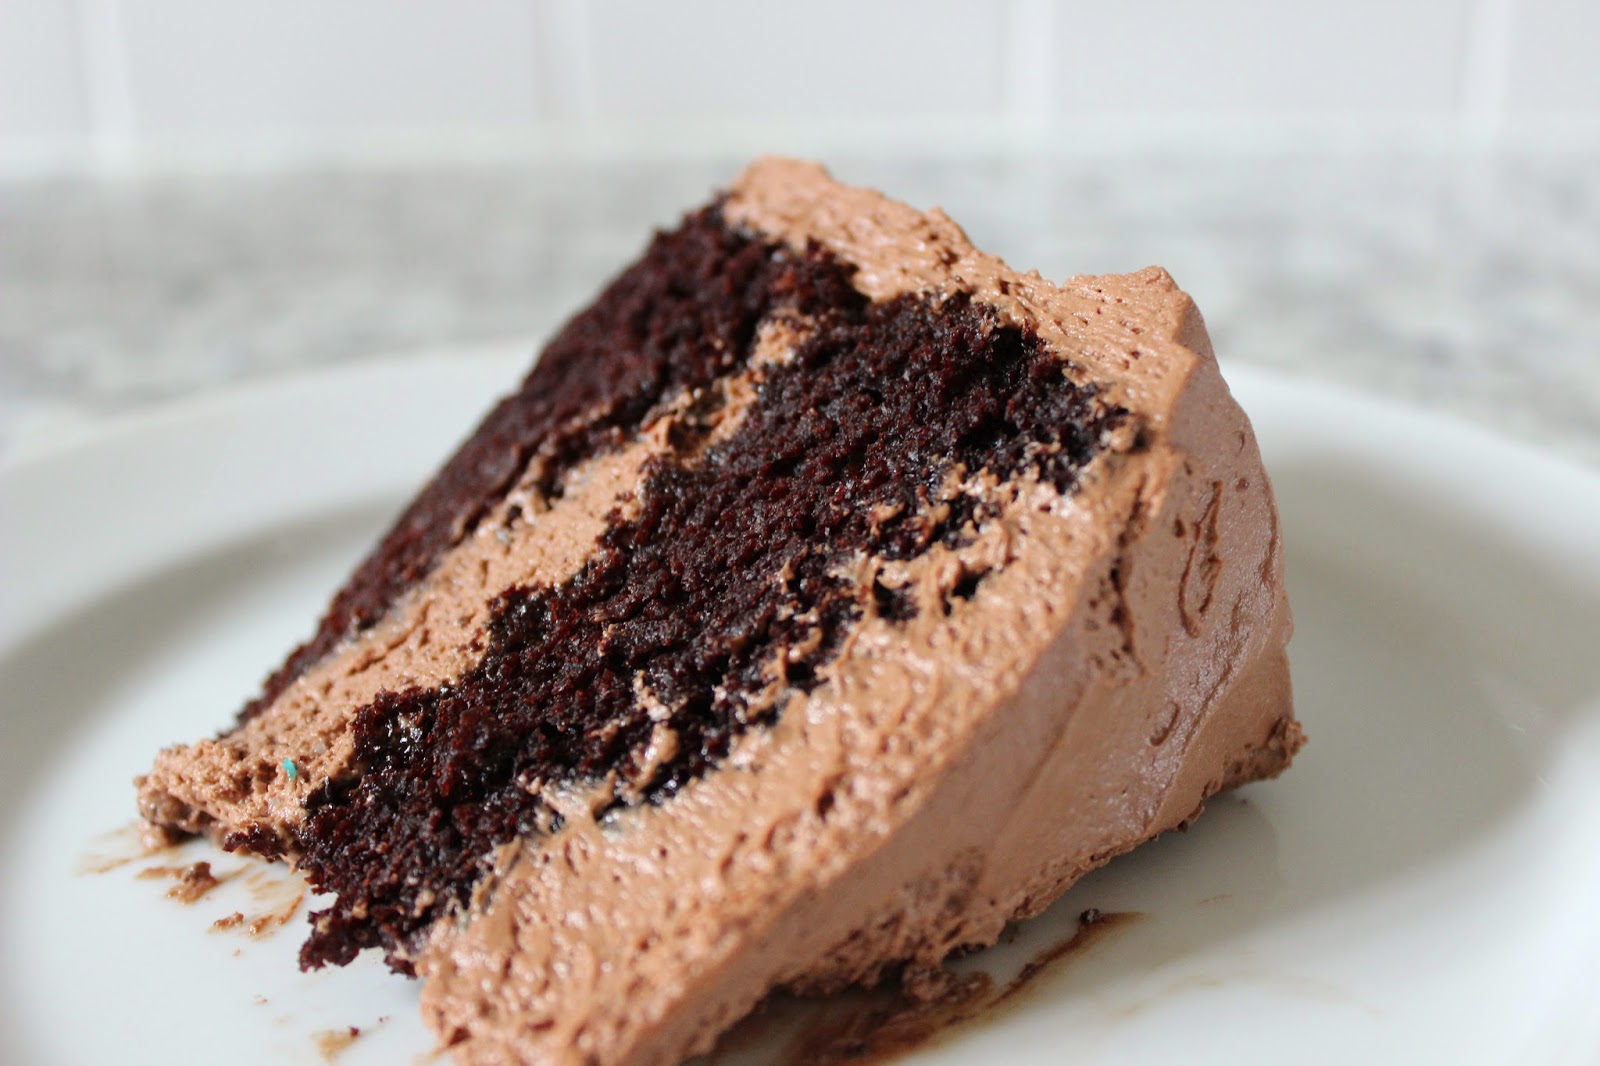
Update: The picture above is the cake I made for MY birthday! It's the same cake recipe but with peanut butter frosting (recipe below)
Not to toot my own horn... but I'm going to. This cake is the BEST. It's super m-o-i-s-t (don't say it out loud) and super chocolaty in a not-to-sweet way. It's pretty easy too!

THE BEST CHOCOLATE CAKE EVER EVER EVER

Cake Recipe
Adapted from Ina Garten

Ingredients:

Butter, for greasing the pans
1 3/4 cups all-purpose flour, plus more for pans (I use bread flour)
2 cups sugar
3/4 cups (good!!) cocoa powder 
2 teaspoons baking soda
1 teaspoon baking powder
1 teaspoon kosher salt
1 cup buttermilk, shaken
1/2 cup vegetable oil
2 extra-large eggs, room temperature
1 teaspoon (good) pure vanilla extract
1 cup freshly brewed hot coffee

Directions:

Preheat the oven to 350 degrees. 
Butter two 8-inch x 2-inch round cake pans. 
Line with the bottom of the pan with parchment paper, then butter and flour the pans. I like to flour the pans with extra cocoa powder!

Sift the flour, sugar, cocoa, baking soda, baking powder, and salt into the bowl of an electric mixer fitted with a paddle attachment and mix on low speed until combined. 
In another bowl, combine the buttermilk, oil, eggs, and vanilla. 
With the mixer on low speed, slowly add the wet ingredients to the dry. 
With mixer still on low, add the coffee and stir just to combine, scraping the bottom of the bowl with a rubber spatula. 
Pour the batter into the prepared pans and bake for 25-30 minutes, until a cake tester comes out clean. Always bake for a few minutes less if you've never made this recipe before, so you don't over-bake the cakes. You can always add more time, you can't take away! 
Cool in the pans for 30 minutes, then turn them out onto a cooling rack and cool completely.


CHOCOLATE FROSTING RECIPE
Adapted from Magnolia Bakery

Ingredients: 

1 1/2 cups (3 sticks) unsalted butter, softened to room temp
2 tablespoons whole milk, room temp
12 ounces chocolate, melted and cooled (I use Ghiradelli 60% bittersweet chocolate)
1 tsp fleur de sel or kosher salt
1 teaspoon (good!!) vanilla extract
2 1/4 cups sifted confectioners’ sugar

Directions: 

To melt the chocolate, place in a double boiler over simmering water on low heat for about 5-10 minutes. Stir occasionally until completely smooth and no pieces of chocolate remain.  
Add 1 tsp of fleur de sel or kosher salt (my secret ingredient).
Remove from the heat and let cool for 5-15 minutes.
In a large bowl, on the medium speed of an electric mixer, beat the butter until creamy, 3 minutes. 
Add the milk carefully and beat until smooth. 
Add the melted chocolate and beat for 2 minutes. 
Add the vanilla and beat for 3 minutes. 
Gradually add the sugar and beat on low speed until a desired consistency is reached. I whip it for a couple minutes so it's nice and fluffy!
My two cute helpers
Ari said "Happy Birthday, Daddy! Daddy, how old are you turning? Oh wow, 32? Does that mean you're going to go bald soon?"
UPDATE: I just made this cake for my birthday but with peanut butter frosting! Recipe as follows:

PEANUT BUTTER FROSTING
Ina Garten

Ingredients:
1 c powdered sugar
1 c creamy peanut butter
5 tbsp butter, room temp
1/2 tsp vanilla
1/4 tsp salt
1/3 c heavy cream

Directions:
Beat all ingredients except the cream in a mixer on low until creamy. Add the cream and beat on high until fluffy and smooth. There was enough for the top and middle layer of the cake, keeping the sides bare. You may want to double the recipe if you'll be frosting the whole cake.

You are going to LOVE this!! Enjoy!
-L

Wednesday, November 12, 2014

ARI'S 4TH BIRTHDAY - PIZZA PARTY!

Ari turned 4 yesterday! I cannot believe I have a four-year-old. What?! After Max's 1st birthday party last month (HERE) I was pretty spent, so it was music to my ears when Ari declared he didn't want a party! Background... he's not too into other kids his age and much prefers adults. We're working on it at preschool and with play dates, but honestly it was his birthday, so he should get to do what he wants, right? Ari's request was going to his fav pizza place, Mellow Mushroom, with just the family. So that's what we did!
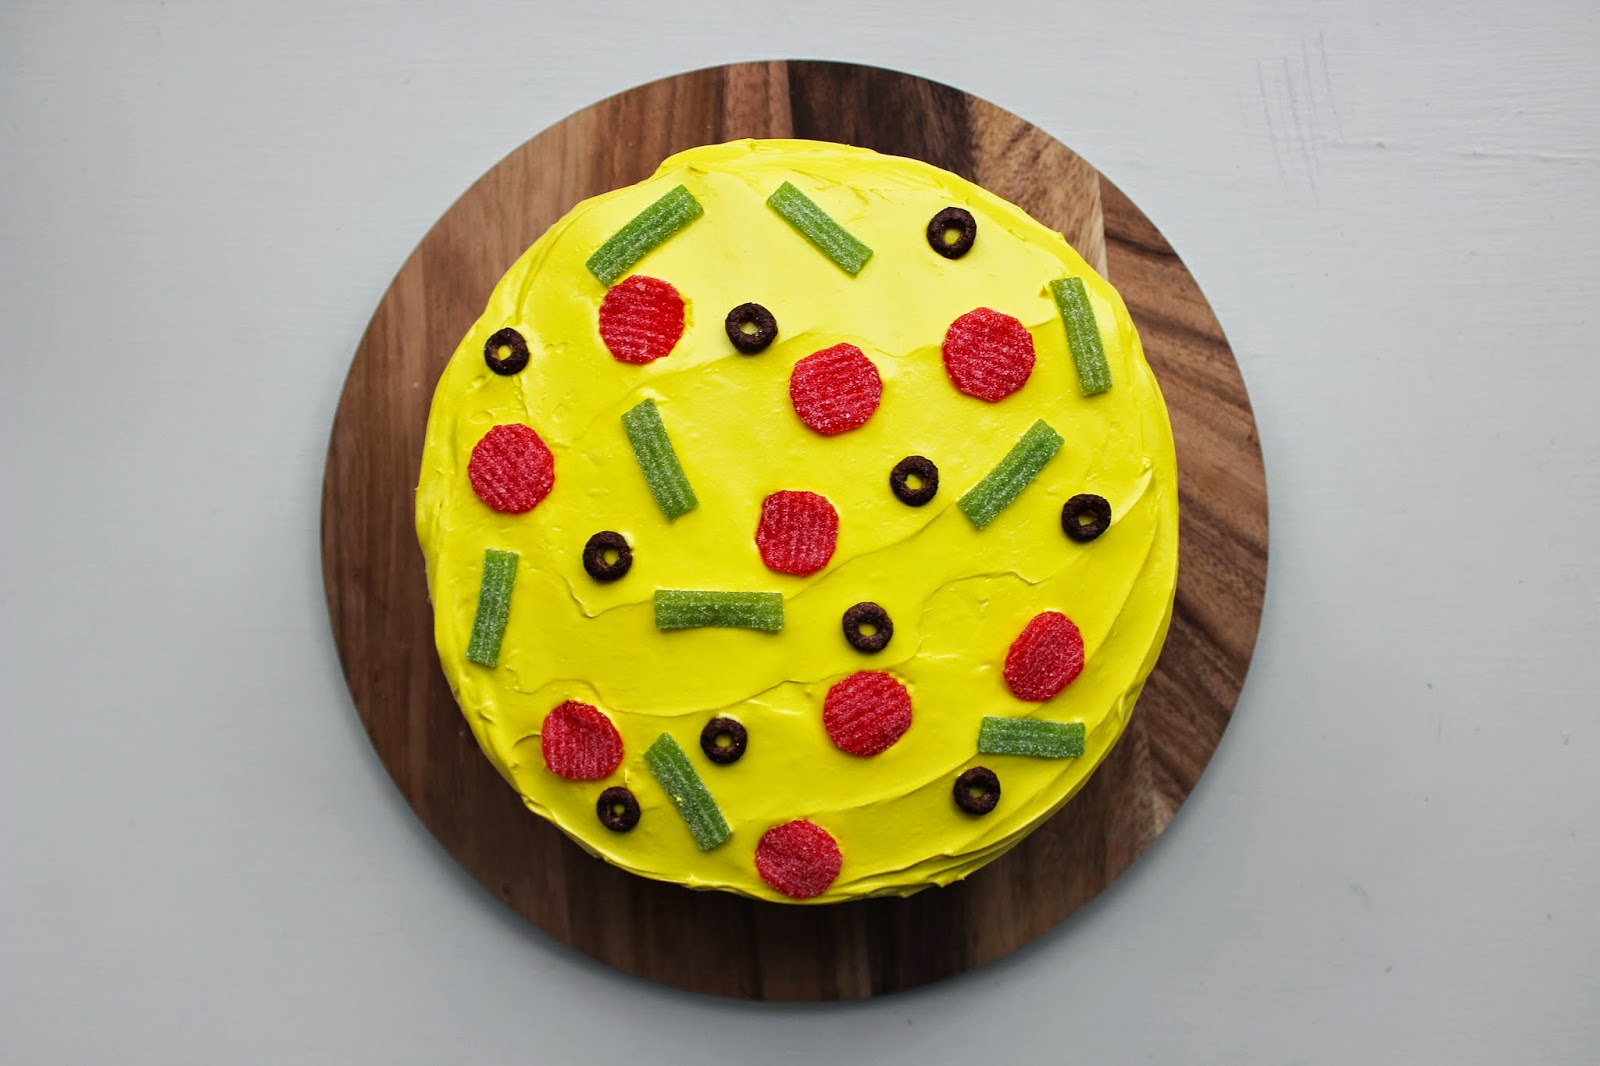
I kept decoration to the bare minimum (to my standards) and just made these little pizza party hats, a pizza cake, and pizza tattoos
Pizza Party tattoos in our Etsy shop HERE

For the pizza cake, I just used sour straws and chocolate cheerios for the "pizza toppings". I tinted frosting red for the middle layer and yellow for the top. You guys... I totally attempted a brown crust out of frosting and failed miserably. Scraped it off and stuck with a clean yellow top! 


I thought these pizza hats turned out pretty well and were super simple! For the tutorial and more DIY party hat ideas, click HERE.

Here's my birthday boy checking out his cake sans pants.
That's a wrap! Now to move into our new home NEXT WEEK.... oy.

-L

Ari's Modern Animal Themed 2nd Birthday Party HERE, HERE, and HERE.
Related Posts Plugin for WordPress, Blogger...