SHARA:
When I was pregnant with my second, I was so sure I was having a girl that I went ahead and bought crib bedding and started planning out a perfect baby girl nursery. I was just SURE. Halfway through my pregnancy at the big ultrasound, the tech waved her magic wand, paused, and then asked me if I still had the receipt for that bedding... I was having another boy! I was shocked and kind of in denial, so I decided I didn't need to do up another room for baby boy - he would just share a room with his big brother once he was old enough to move out of the bassinet in my room.
Fast forward to a month before my due date. The urge to nest suddenly kicked in haaaaaaard and I just HAD to have a nursery. Jenni had thrown me the most perfect "snowy sprinkle" baby shower (see it HERE), and I worked from that idea to create a gender-neutral winter woodland nursery. The room was already painted grey (Valspar's “Cement"), so I left it as is and used that as my starting point. Anyone who has been to my house knows how much I love the color aqua, so I (unsurprisingly) decided on a grey/aqua/white color theme, accented by warmer tones here and there to keep it from being too matchy-matchy or cold. It took more than a year to finish up the room - I had my hands kind of full with two little ones! - but I think that the extra time allowed the room to evolve into something even better than I had originally visualized. Now it’s one of my favorite rooms in the house!
PS. I never did return that girly bedding… it’s packed away carefully in hopes that maybe one day my pretty pink nursery will become a reality ;)

SOURCES:
Tree decals - WallDecorative
Arrows - Mineral and Matter
Feather mobile - DIY
Dreamcatchers - DIY
Crib - Babyletto “Hudson”
Bedding - skirt from Land of Nod, sheet & chevron knit throw from Target
Aqua book cart - Land of Nod
Rocking moose - Ikea
Chair and ottoman - Little Castle “Charleston”
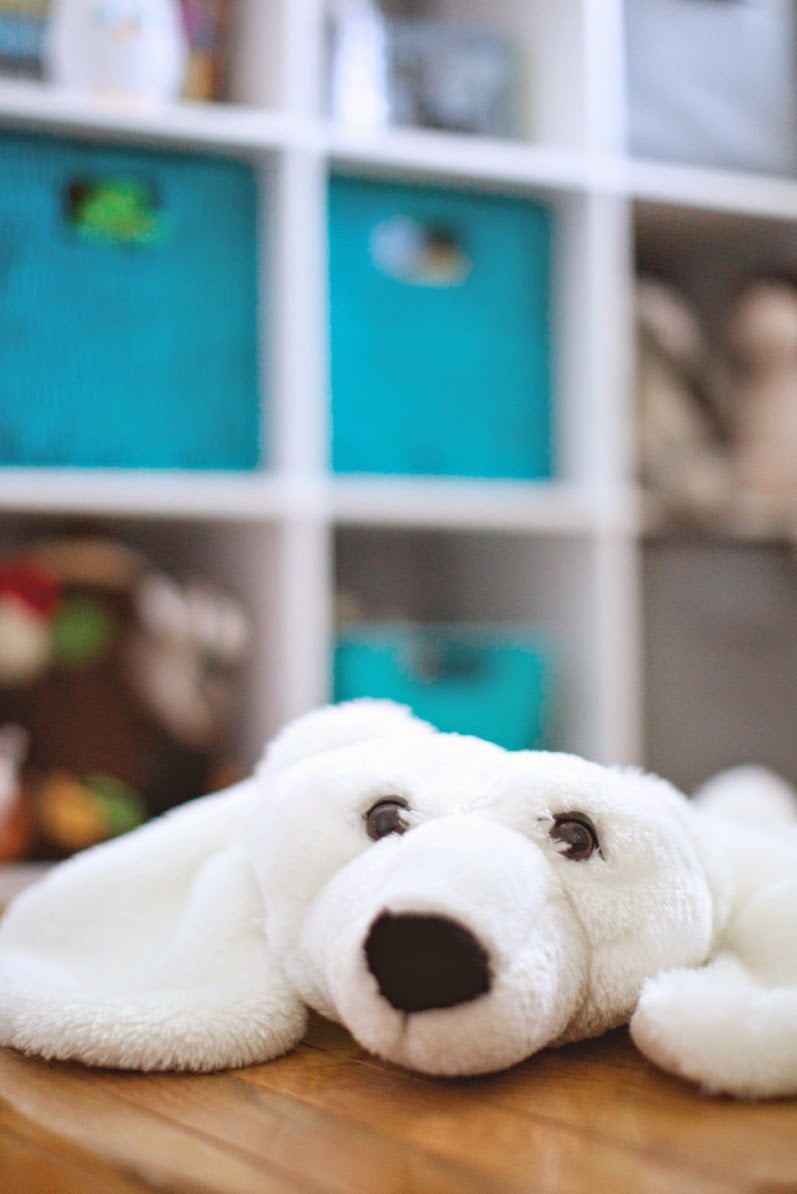
Polar bear blanket - Land of Nod
Polar bear “skin" - eBay
Lamps - Target
Squirrel nightlight - Modcloth
Tree wood bead puzzle - Skip Hop
Bird mobile - Boon
Changing pad cover - Land of Nod
Curtains - Amazon (blackout lining added DIY)
Dresser, end table, book ledges - Ikea
"Things" organizer - Land of Nod
Grizzly bear wood block calendar - West Elm
Fox, raccoon and owl art - Sass and Peril
Antlers - White Faux Taxidermy
Clock - Target
Rocking bird - West Elm
Ceramic fox figurine and white fox speaker - Target
Moon globe - Urban Outfitters
Marquee arrow light - Target
Forest Love screen print - Sass and Peril
Young & Brave print - Billy and Scarlet
Paper deer - Template from French Melody
Name letters - DIY
Woven baskets - Walmart, spray painted teal
Owl vase - Target
Young & Brave print - Billy and Scarlet
Paper deer - Template from French Melody
Name letters - DIY
Woven baskets - Walmart, spray painted teal
Owl vase - Target


I love the metal letters: i hope you can get her to share the diy!
ReplyDeleteHey Tiffany! The "metal" letters are super easy! I just used some papier mache letters (you can get them at Hobby Lobby/Michaels/etc) and then painted them black using craft paint. Then, I took some metallic white craft paint and dry brushed it over the black. I wanted the letters to look distressed, so I kept the white paint very uneven and painted in various directions to encourage imperfections. The key is to use as little white paint on your brush as possible - you just build it up gradually. Hope that helps!
Delete